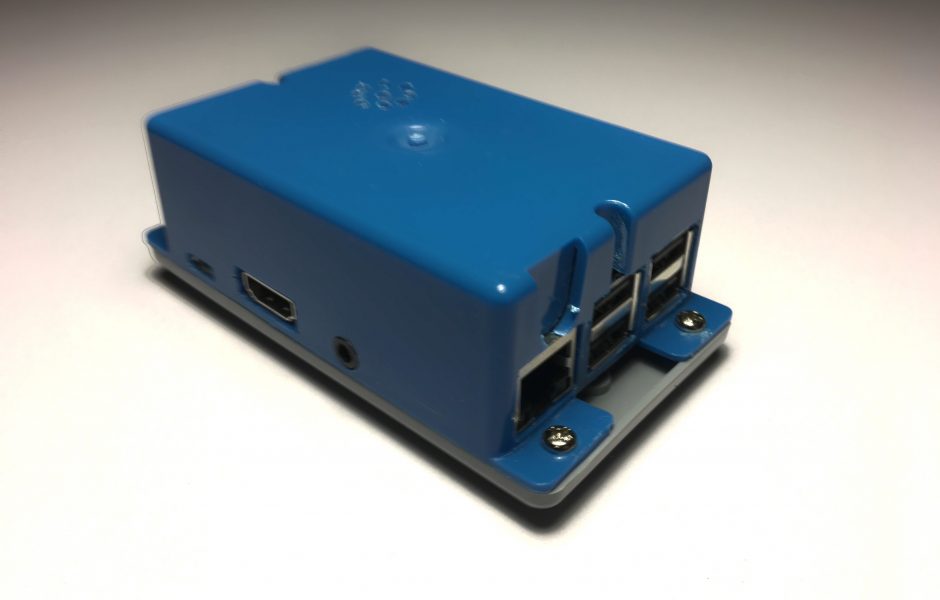
$2 DIY Raspberry Pi Enclosure
Background
Recently I decided to take on the little side project of building an arcade cabinet; partially because I enjoy video games and partially because I want my son to experience classic gaming as it was meant to be. There are many choices when it comes to hardware and software for custom arcade cabinets, but I went with ease of use and chose the Raspberry Pi.  The Raspberry Pi is a wonderful computing platform with an extensive community supporting it. Wikipedia describes the Pi as a credit card sized single-board computer developed to promote the teaching of basic computer science in schools and for developing countries. As such the Pi is an extremely cost effective computing solution with virtually endless possibilities when it comes to hardware and software integration. Best of all is the cost to entry, at $35 the Pi fits even my tight budget.
The Pi, however, doesn’t come with an enclosure because that would raise the cost. There are thousands of enclosures to choose from online, and you could easily 3D print an enclosure; however, no option I found came close to the $2 price tag or the sense of accomplishment you get from making something yourself. So, being the thrifty type I decided to build a rather than buying a ready-made one.
The Build
Let’s get started by gathering the materials and tools needed to complete the project.
The only materials that you will need to purchase are a 1-gang 8 cu. in. flanged shallow old work box for $1.24 and a 1-gang new work handy box blank cover for 64¢, both of which can be picked up at your local Home Depot.


You’ll also need
-Drill & 7/64 bit
-Rotary tool
-Utility knife
-Screwdriver
-Long nose pliers
-Case screws from a computer

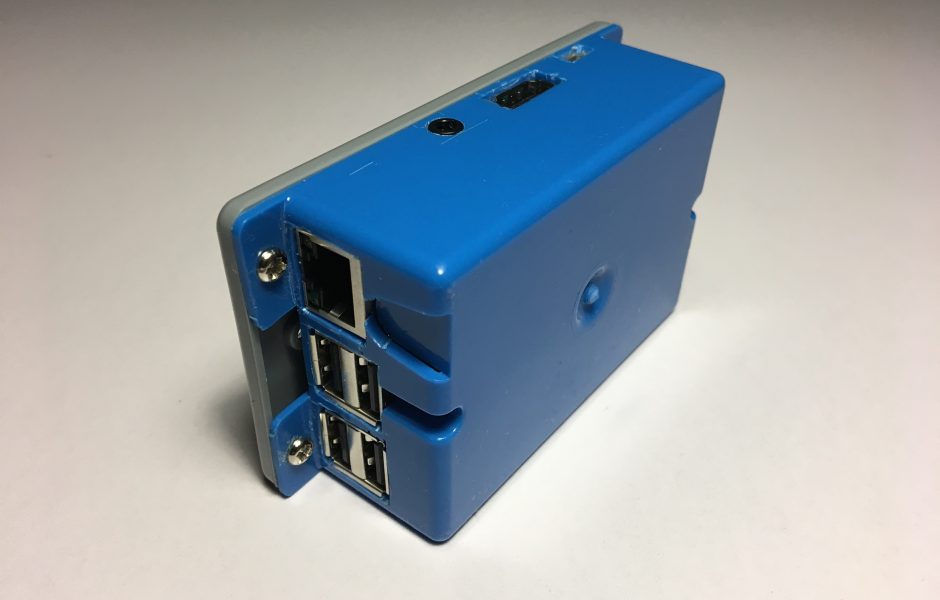
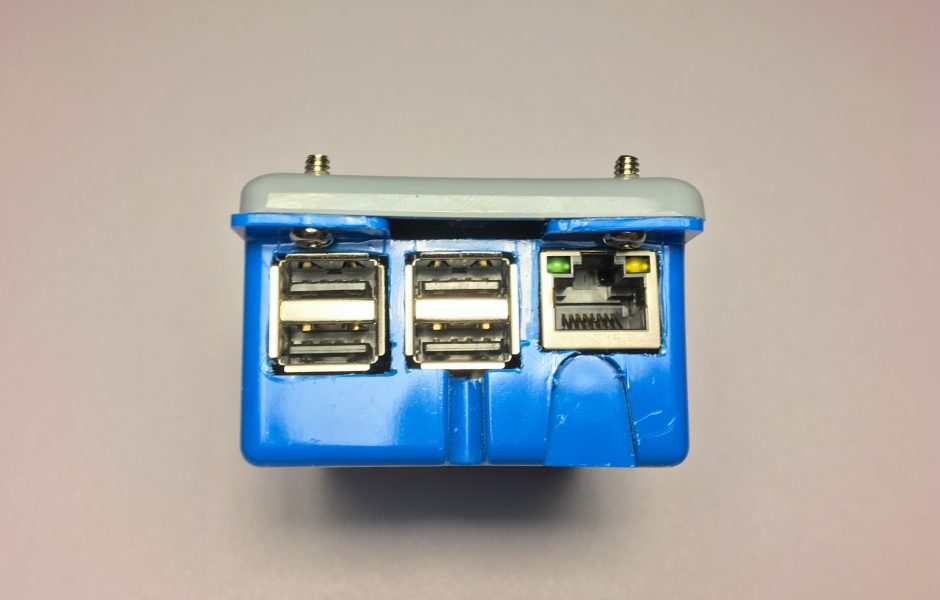
The first thing we need to do is transfer measurements to the old work box. You could use the design drawing of the Pi; however, I found it easier to simply line up the Pi and use the utility knife to score were I wanted to make cuts. I started with the Ethernet and USB port side because they slightly stick off the board, and once our cuts are complete they will recess 1/8 of an inch into the enclosure. If you make all your measurements at once, be sure to account for this measurement.
Next, we will need to use the utility knife, rotary tool, and long nose pliers to make our cuts. There is no right or wrong here but it is important to be patient and take your time. It’s better to cut too little and have to go back then to cut too much. Periodically check the fit with your Pi and make adjustments as necessary.
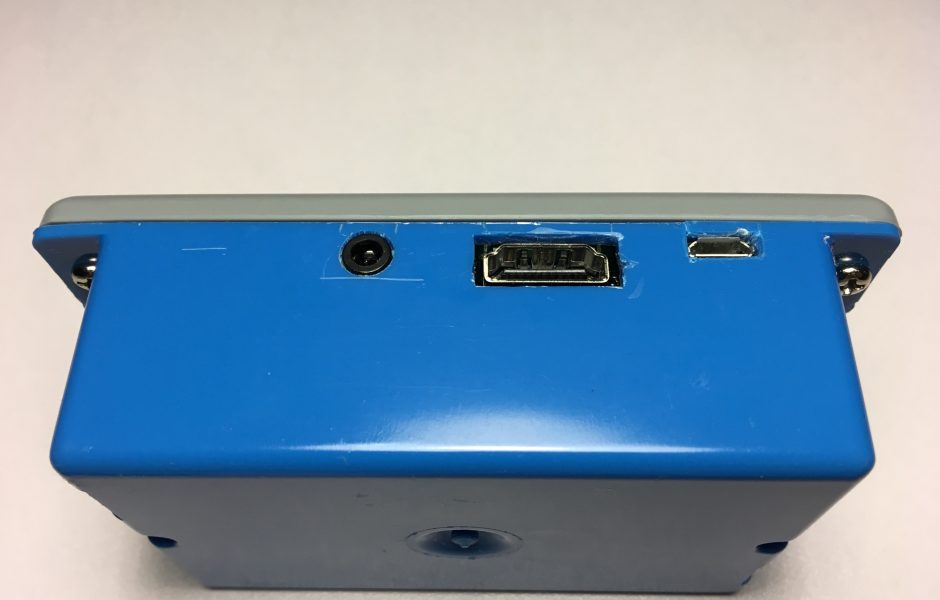
Once we have finished with our first set of cuts, go back and transfer your next set of measurements for the audio, video, and power jacks and begin cutting again. For the audio jack, I used a 1/4-inch drill bit. Remember to take your time, double check measurements and periodically check your fit. The last cuts we need are to make room for the micro SD card and display DSI.
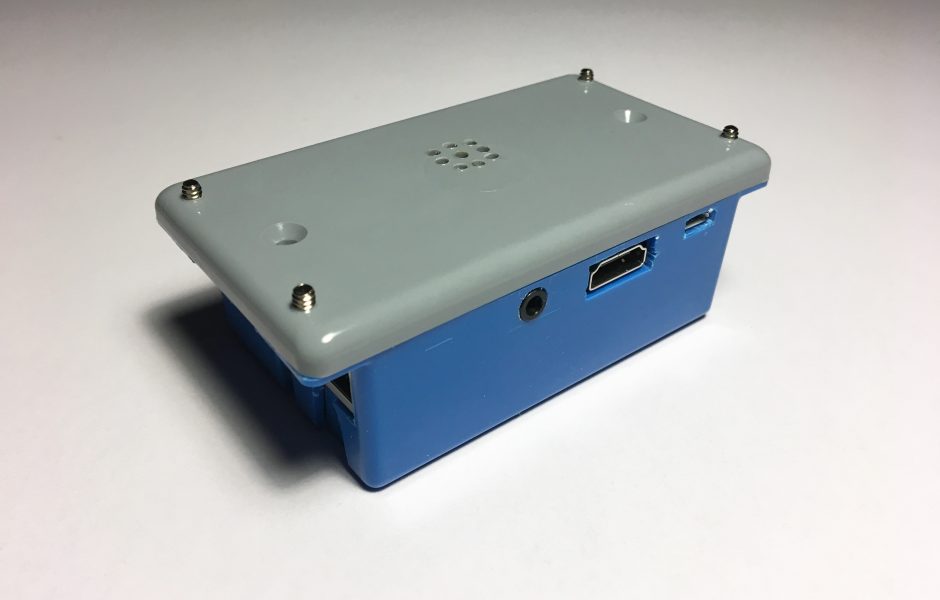
Now that all the cuts have been made we can fit the Pi into its new enclosure. It is a snug fit but is quite secure. One step that is optional is drilling some ventilation holes. Most of the enclosures available online have little to no ventilation so it probably is not necessary; however, I chose to drill holes above the two main chips. You may also find it useful to drill holes to make the LEDs visible.
The last step is to attach the cover for the enclosure. To accomplish this, line up your enclosure and cover, then use the 7/64-inch drill bit to carefully drill through the flanges of the box to the cover. After you have drilled your holes simply screw the enclosure and cover together with your reclaimed computer case screws. The screws will likely stick through the cover to make little feet.
Conclusion
Well, there you have it. You now have a custom DIY enclosure for you Pi and best of all it only cost you $2! I can’t think of any way to improve the design but if you can leave your suggestions in the comments below. For the next part of my arcade cabinet, I’ll be tackling the controls. Look for that post in the near future.


Write a Reply or Comment